How to photograph UV Bodypaint: Capturing the Ephemeral Art of the Human Form
In the realm of avant-garde photography, few subjects are as mesmerizing as UV bodypaint. This unique art form combines the body's natural contours with otherworldly luminescence, creating a visual experience that is both sensual and scientific. Mastering the art of photographing UV bodypaint requires a nuanced understanding of light, composition, and the interplay between human form and artificial illumination.
Understanding UV Bodypaint
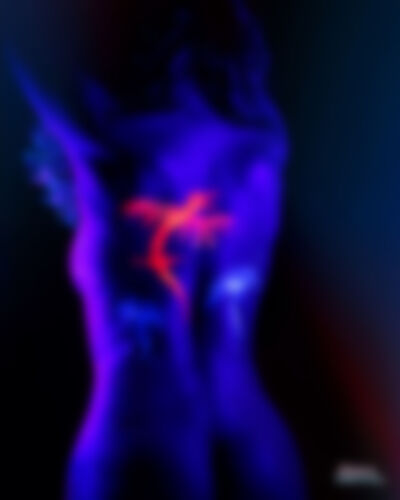
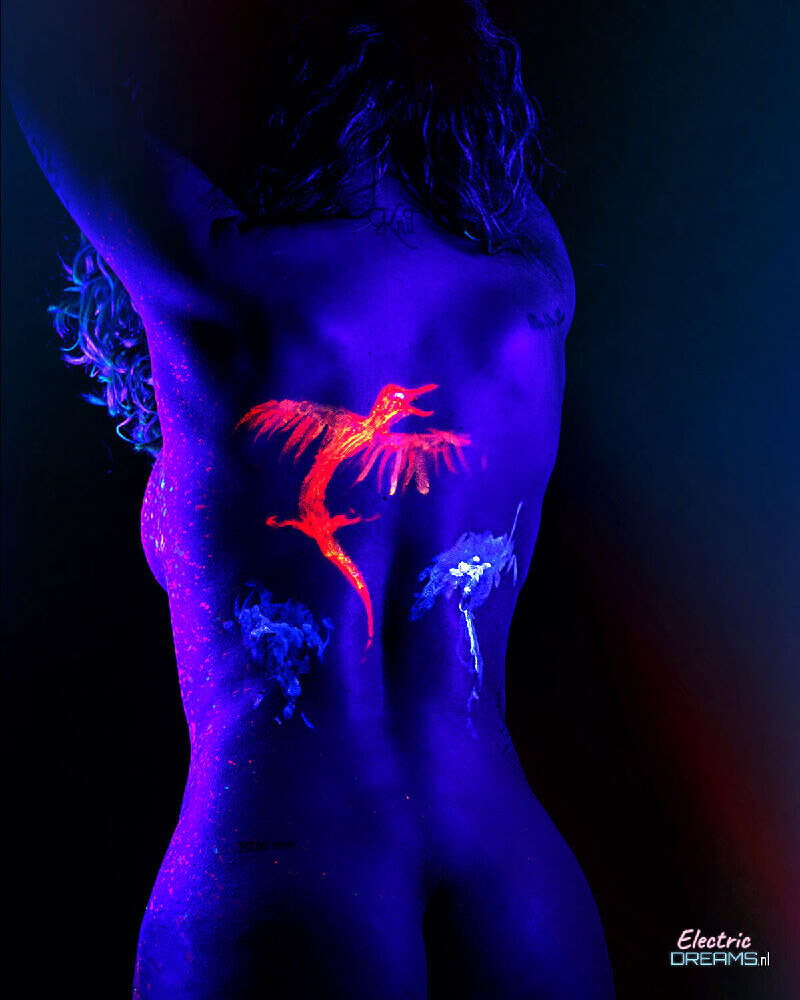
UV bodypaint consists of special pigments that absorb ultraviolet light and emit visible light, creating a luminous effect when exposed to a UV blacklight. The paint typically appears as a subtle shimmer or hue under normal lighting but transforms into an ethereal glow under UV light. This transformation is the essence of the photographic challenge, requiring photographers to capture this delicate interplay between the painted body and the artificial light source.
Preparation: Setting the Stage
Before the shoot, meticulous preparation is crucial. First, ensure that the location is dark enough to enhance the contrast between the glowing UV paint and the surrounding environment. Consider using a light-tight room or a space with blackout curtains. The model's skin should be clean and free of oils or lotions that could interfere with the paint's adhesion.
Choose a suitable UV blacklight, preferably one that emits a full spectrum of UV light for optimal results. Position the light strategically to create the desired effect. For portrait photography, place the blacklight at an angle that highlights the model's features and the intricate patterns of the bodypaint. For full-body shots, consider using multiple light sources to ensure even illumination across the entire form.
Modeling: The Canvas of Expression
The model's pose is essential in capturing the essence of UV bodypaint photography. Encourage the model to embody the mood and theme of the piece, whether it's ethereal, sensual, or abstract. Fluid, flowing poses often complement the luminescent quality of the paint, creating a harmonious interplay between form and light.
For intimate shots, consider close-up compositions that emphasize the texture and flow of the paint across the skin. For more expansive images, wide-angle lenses can capture the full spectrum of the body's transformation under UV light. Remember to communicate with the model, ensuring they feel comfortable and secure during the shoot.
Camera Settings: Capturing the Glow
Photographing UV bodypaint requires specific camera settings to maximize the effect of the UV light. Set the camera to manual mode to have full control over exposure. Use a low ISO to reduce noise and preserve the delicate glow of the paint. A wider aperture (lower f-stop number) can create a soft, dreamlike quality, while a smaller aperture can enhance the clarity of intricate paint details.
Experiment with different shutter speeds to capture both the static form of the bodypaint and any subtle movements. A slightly slower shutter speed can add a sense of motion to the image, emphasizing the fluidity of the paint's application on the skin.
Composition: Framing the Luminescent Form
The composition of UV bodypaint photographs should guide the viewer's eye through the interplay of light and form. Consider using leading lines created by the body's natural curves to direct attention to the most illuminated areas of the paint. Symmetrical compositions can create a sense of balance and harmony, while asymmetrical arrangements can add dynamism and intrigue.
Don't be afraid to get close to the subject, allowing the camera to capture the micro-details of the paint's texture against the skin. Macro lenses can reveal the intricate patterns and the subtle variations in the paint's glow. Alternatively, step back for wide shots that capture the model's entire form bathed in UV light, emphasizing the transformation of the body into a luminous sculpture.
Post-Processing: Enhancing the Ethereal
Post-processing plays a vital role in UV bodypaint photography, allowing photographers to enhance the luminous quality of the images while maintaining the integrity of the original work. Use light adjustment tools to boost the contrast between the glowing areas of the paint and the surrounding darkness. Careful retouching can smooth out any imperfections in the paint's application while preserving its artistic essence.
Consider adding subtle color grading to complement the UV glow without overwhelming it. Warm tones can enhance the sensual quality of the images, while cool tones can create a more abstract, otherworldly atmosphere. Always aim to enhance the existing qualities of the photograph rather than completely transform it.
Lighting: The Secret Ingredient
The key to successful UV bodypaint photography lies in mastering the use of light. Experiment with different angles and intensities of UV light to create varying effects on the paint. Side lighting can accentuate the contours of the body, while front lighting can ensure even illumination across the entire form.
Consider using reflective surfaces or additional light sources to bounce UV light off surrounding objects, creating a more immersive environment for the photograph. This technique can help to integrate the bodypaint subject with its surroundings, creating a cohesive and visually compelling image.
Creating Atmosphere: The Art of Mood
UV bodypaint photography thrives on atmosphere. Use props and backgrounds that complement the ethereal quality of the subject. Crystalline objects, flowing fabrics, or elements that reflect UV light can enhance the otherworldly feel of the images. Remember to keep the background simple and dark to ensure that the glowing bodypaint remains the focal point.
Experiment with different lighting setups to create various moods. Soft, diffused light can produce a gentle, romantic atmosphere, while harsher light can create a more dramatic, high-contrast effect. Don't hesitate to use multiple UV sources or combine UV light with other types of light to achieve the desired mood and atmosphere.
Technical Tips: Ensuring Flawless Results
To achieve professional-quality results in UV bodypaint photography, consider these technical tips:
- Use a UV-blocking filter on your lens when shooting in normal light to prevent the paint from glowing prematurely.
- Test your UV blacklight with a UV meter to ensure it emits sufficient intensity for your desired effect.
- Use a light tent or a dark room with controlled lighting to eliminate unwanted reflections and shadows.
- Work with a model who is comfortable in front of the camera, as their confidence can greatly influence the final outcome.
- Experiment with different types of UV bodypaint to achieve varied effects and textures in your photographs.
Conclusion: Embracing the Ethereal
Photographing UV bodypaint is a captivating blend of science and art, requiring a delicate balance between technical precision and creative expression.